 Q: How do I set up Facebook group and events for my youth group?
You now have a Facebook Profile and maybe even a Facebook Page. Maybe you decided a page wasn’t the right fit for your youth work. You want somewhere to interact with your youth and their friends who are part of your programs but you want better control over the privacy settings. A group is just what you’re looking for!
A Facebook group allows you to control who sees it, who joins it and you can easily create events for just those group members – perfect for youth work!
Below are step-by-step guides to creating Facebook groups and then for creating an event. *Remember if you want to reach us use our contact page, not the gmail created and listed for these how-to examples.
How To Set Up Facebook Groups in 5 Easy Steps:
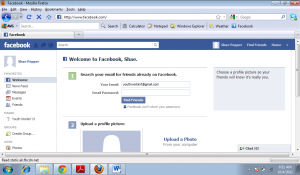
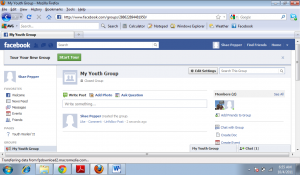
1. In the left hand tool bar of your profile, click ‘Create Group’
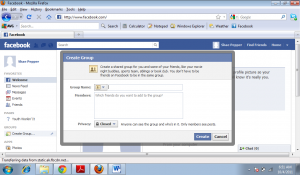
2. You’ll need to choose a group name and add Facebook friends to the group.
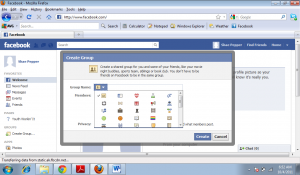
3. You can choose a fun ‘favicon’ for your group (a little picture that will show up next to your group name – in my example I chose a megaphone)
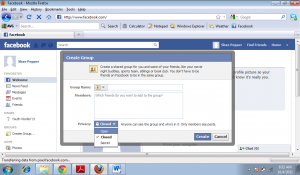
4. Choose whether you want your group to be open, closed or secret. Open groups are visible to the public, including who the members are and what their posts are (this is probably not a good choice for most youth groups to maintain confidentiality in your group) and anyone can join the group.
A closed group means that the group name and members can be seen but only group members can view the posts within the group – those wanting to join the group have to ask to join.
A secret group means that the group itself is not visible to the public, nor are its members or posts – youth in your group would need to invite or add their friends to this group – they couldn’t just find it because it doesn’t appear to any non-members.
5. Create your group. Once all the info is entered, click ‘create’ and you now have a Facebook group! At the top you’ll see a button that says ‘Take the Tour’ – click this for a quick and useful tutorial on the features of your new group.
This was just the basic info you need to start a group. For more detailed information on Facebook Groups, check out their help section.
Events can be created from your Facebook profile or from groups. I decided to include these together in the same post so that you can easily create events just for your youth program members and not your wider Facebook friends.
How to create Facebook Events in 3 easy steps:
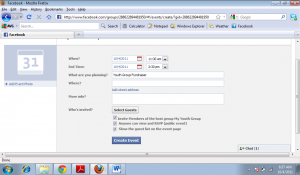
1. Click ‘create event’ in the right hand tool bar of your group. When you do, you’ll the page below. Input your information. One neat feature is that if you’re having a car wash fundraiser at the gas station down the street from your location, you can type in ‘gas station’ and it’ll bring up local gas stations (if you have the location feature allowed on Facebook) and you just click on the correct one – otherwise just put in the address.
You can also choose how group members can RSVP and whether they can invite friends to join the event with the tick boxes at the bottom. When all your information is complete, click ‘create event’.
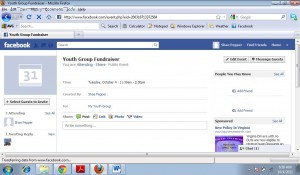
2. Yup. It’s just that easy. You now have an event for your group members. This is a great way to schedule youth retreats, lock-ins, fundraisers, trips, etc. with the youth in your programs and their parents. You can still edit info about this event by clicking ‘edit event’ in the upper right hand corner.
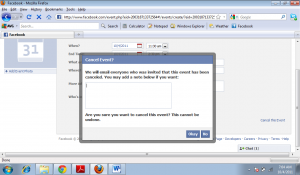
3. If something happens and you need to cancel you’re event- click ‘edit event’ and at the bottom choose ‘cancel event’ A screen will pop up that gives you the option to send your event invitees a message. When you click ‘Okay’, that will cancel your event.
For any extra help with Facebook Events check out their FAQ’s and Help.
Question: How do you use Facebook groups and events in your youth work? Share your ideas in the comments below.
You can also connect with us by:
- Signing up to receive our posts via email
- Following us on Twitter
- Liking us on Facebook
- Signing up to our RSS feed
